WordPress
How to install WordPress on localhost
WordPress ko localhost pe instal karna bahut easy hai. Aap computer pe directly WordPress ko install nahi kar sakte hai, Iske liye aapko environment create karna hoga aur phir aur phir uspe wordpress ko install karna hoga. Install karne ke liye aapko bus kuch easy steps ko follow karna hoga.
Local WordPress installation ko start karne ke liye aapko ek software download karna hoga jsika naam hai WAMP. Iske sath hi aapko wordpress ka latest release bhi download karna hoga. To aaeye dekhte hai in steps ko detail me.
Step 1. Installing WAMP on Windows Computer
Sabse pahle aapko WAMP software ko apne computer pe download aur install karena hoga. Simply aap WampServer website pe ja kar ‘Start Using WampServer’ button pe clcik kare.
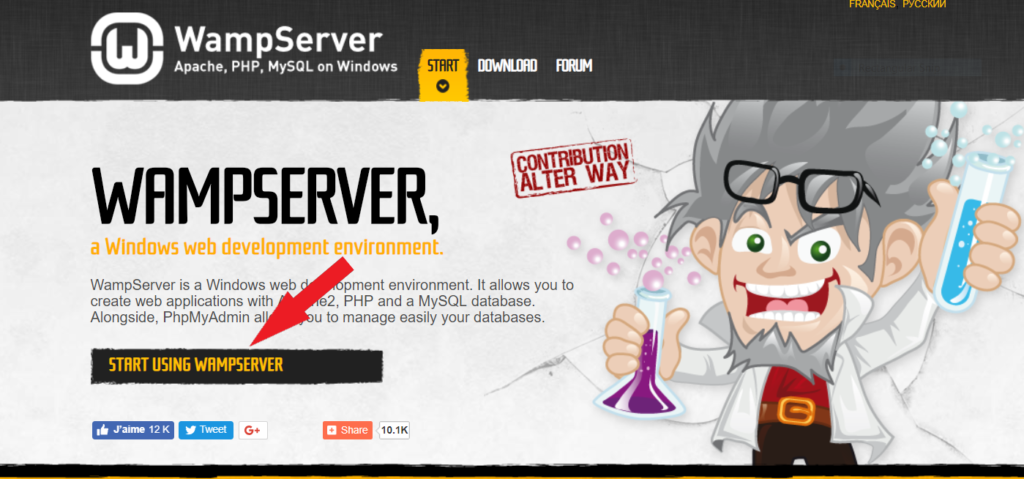
‘Start Using WampServer’ button pe
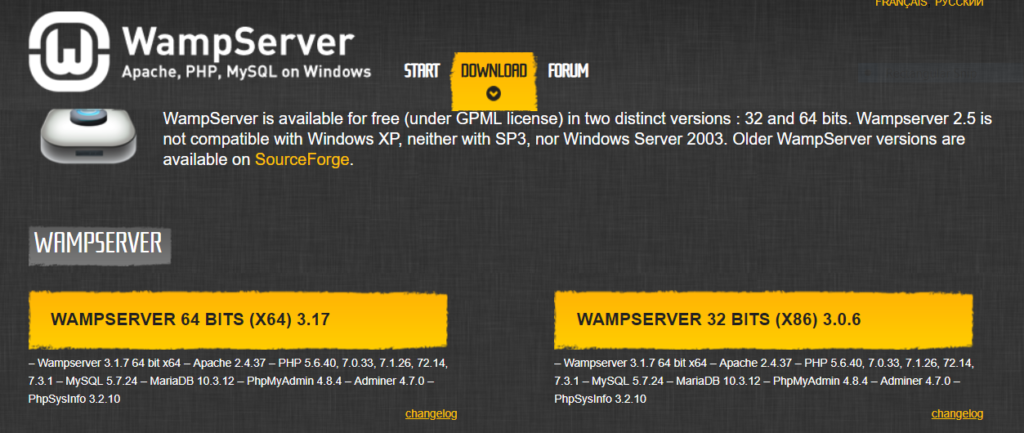
Download ho jane
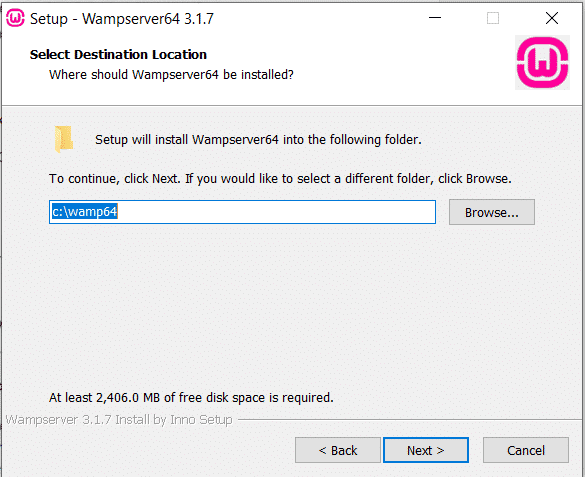
Install ho jane ke bad wamp server ko launch kare.
Step 2. Setting Up a Database for Local WordPress Setup
Ab aapko ek blank MySQL database create karna hoga. Launch hone pe aapko bottom right corner pe ek icon ke sath ek green WampServer icon dikhega. Simply us icon pe clcik kare aur phir phpMyAdmin pe click kare.
Note: Agar WampServer icon red or yellow ho to
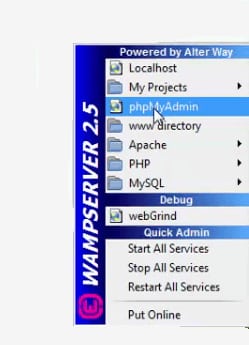
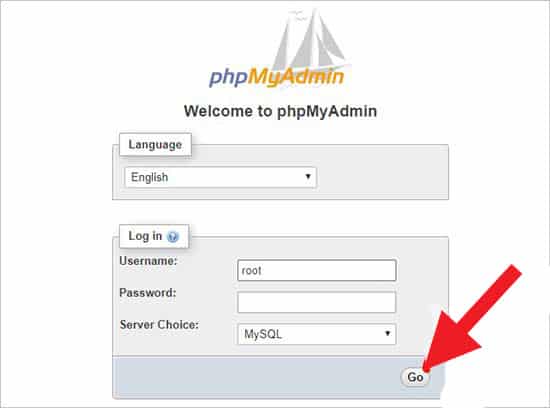
Aapke web browser pe ye aapko phpMyAdmin login screen pe le jayega. Aap yahan pe user name root dale aur password field ko blank rahne de. Go button pe clcik kar ke continue kare.
Login karne ke baad aapko phpmMyAdmin pe click kar ke WordPress ke liye new database create karna hoga. Yahan pe aapko apne new database ke liye name choose karna hoga. Uske baad ‘Create’ button pe clcik karna hoga.
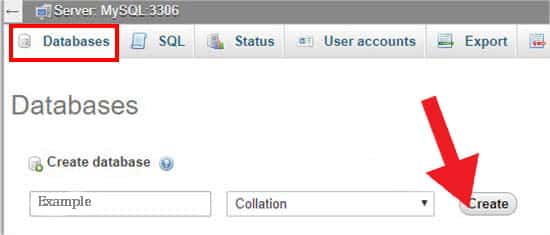
Ab aapka database ready hai ab aap wordpress ko localhost pe install kar sakte hai.
Step 3. Installing WordPress on Windows Using WAMP
Ab
WordPress hoga. C:\wamp\www me
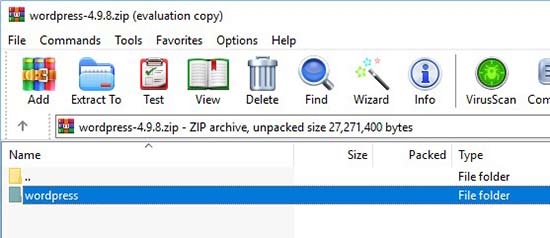
Ab aapko us folder me jana hoga jahan pe aapne WAMP folder ko install kiya hoga. Wprdpress folder ko C:\wamp64\www folder me paste kare.
Ab aap web browser open kar ke http://localhost/mysite/ me ja skate hai. Pahle ye aapse language setup karne ke liye kahega aur aapko database setup information show karega. information ko carefuly parhe aur ‘Let’s go’ button pe click kare.
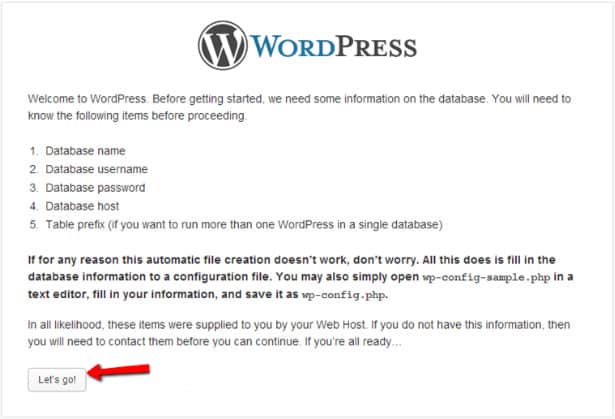
Ab niche diye gaye detail ko mension kare.
- Database
name : Database name you have created (WordPress) Username : rootPassword : Leave it blank- database
host : Keep it default (Localhost) - Database
prefix : Keep it default (wp_)
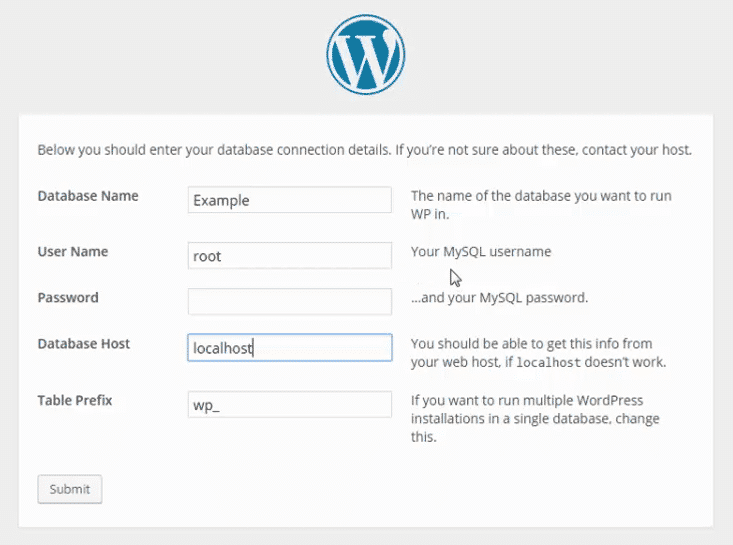
Submit button pe clcik kare. Next screen pe Run setup pe click kare.
Next screen pe Blog title aur Email add kare. Search visibility yahan pe matter nahi karega kyu ki hum local environment pe kaam kar rahe hai.
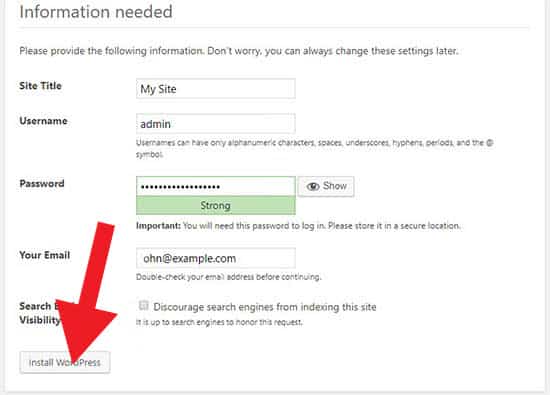
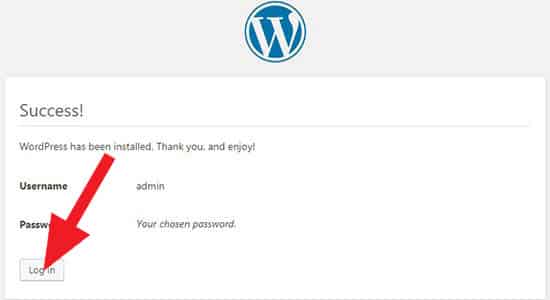
Next screen pe aapko success message milega ke wordpress install ho gaya. Login pe click kar ke aap aage continue kar sakte hai.
Aapne WAMP ki help se local wordpress test environment create kar liya hai. Aap XAMPP ki help se bhi wordpress ko locally install kar sakte hai. Learning aur testing purpose ke liye local server environment bahut accha hota hai. Lekin agar aap wordpress blog dusre logon ke dekhne ke liye start kar rahe hai to aapko wordpress ko apne computer pe start nahi karna chahye.
Umeed